I noticed that many tech companies are not using Docker for local development, only (in some cases) with their CI/CD.
So today, I will show you how to create a Docker image of a Spring boot application and run it in a Docker container.
Why you should Dockerize your app
When you work on an enterprise app, you realize it must respond quickly to changing conditions. That means both easy scaling to meet demand and easy updating to add new features as the business requires.
Docker containers make it easy for you to quickly put new versions of software, with new business features, into production and roll back to a previous version if you need to.
Running an application in containers can also bring plenty of benefits like Portability, Performance, Agility, Isolation, and Scalability.
Creating your application
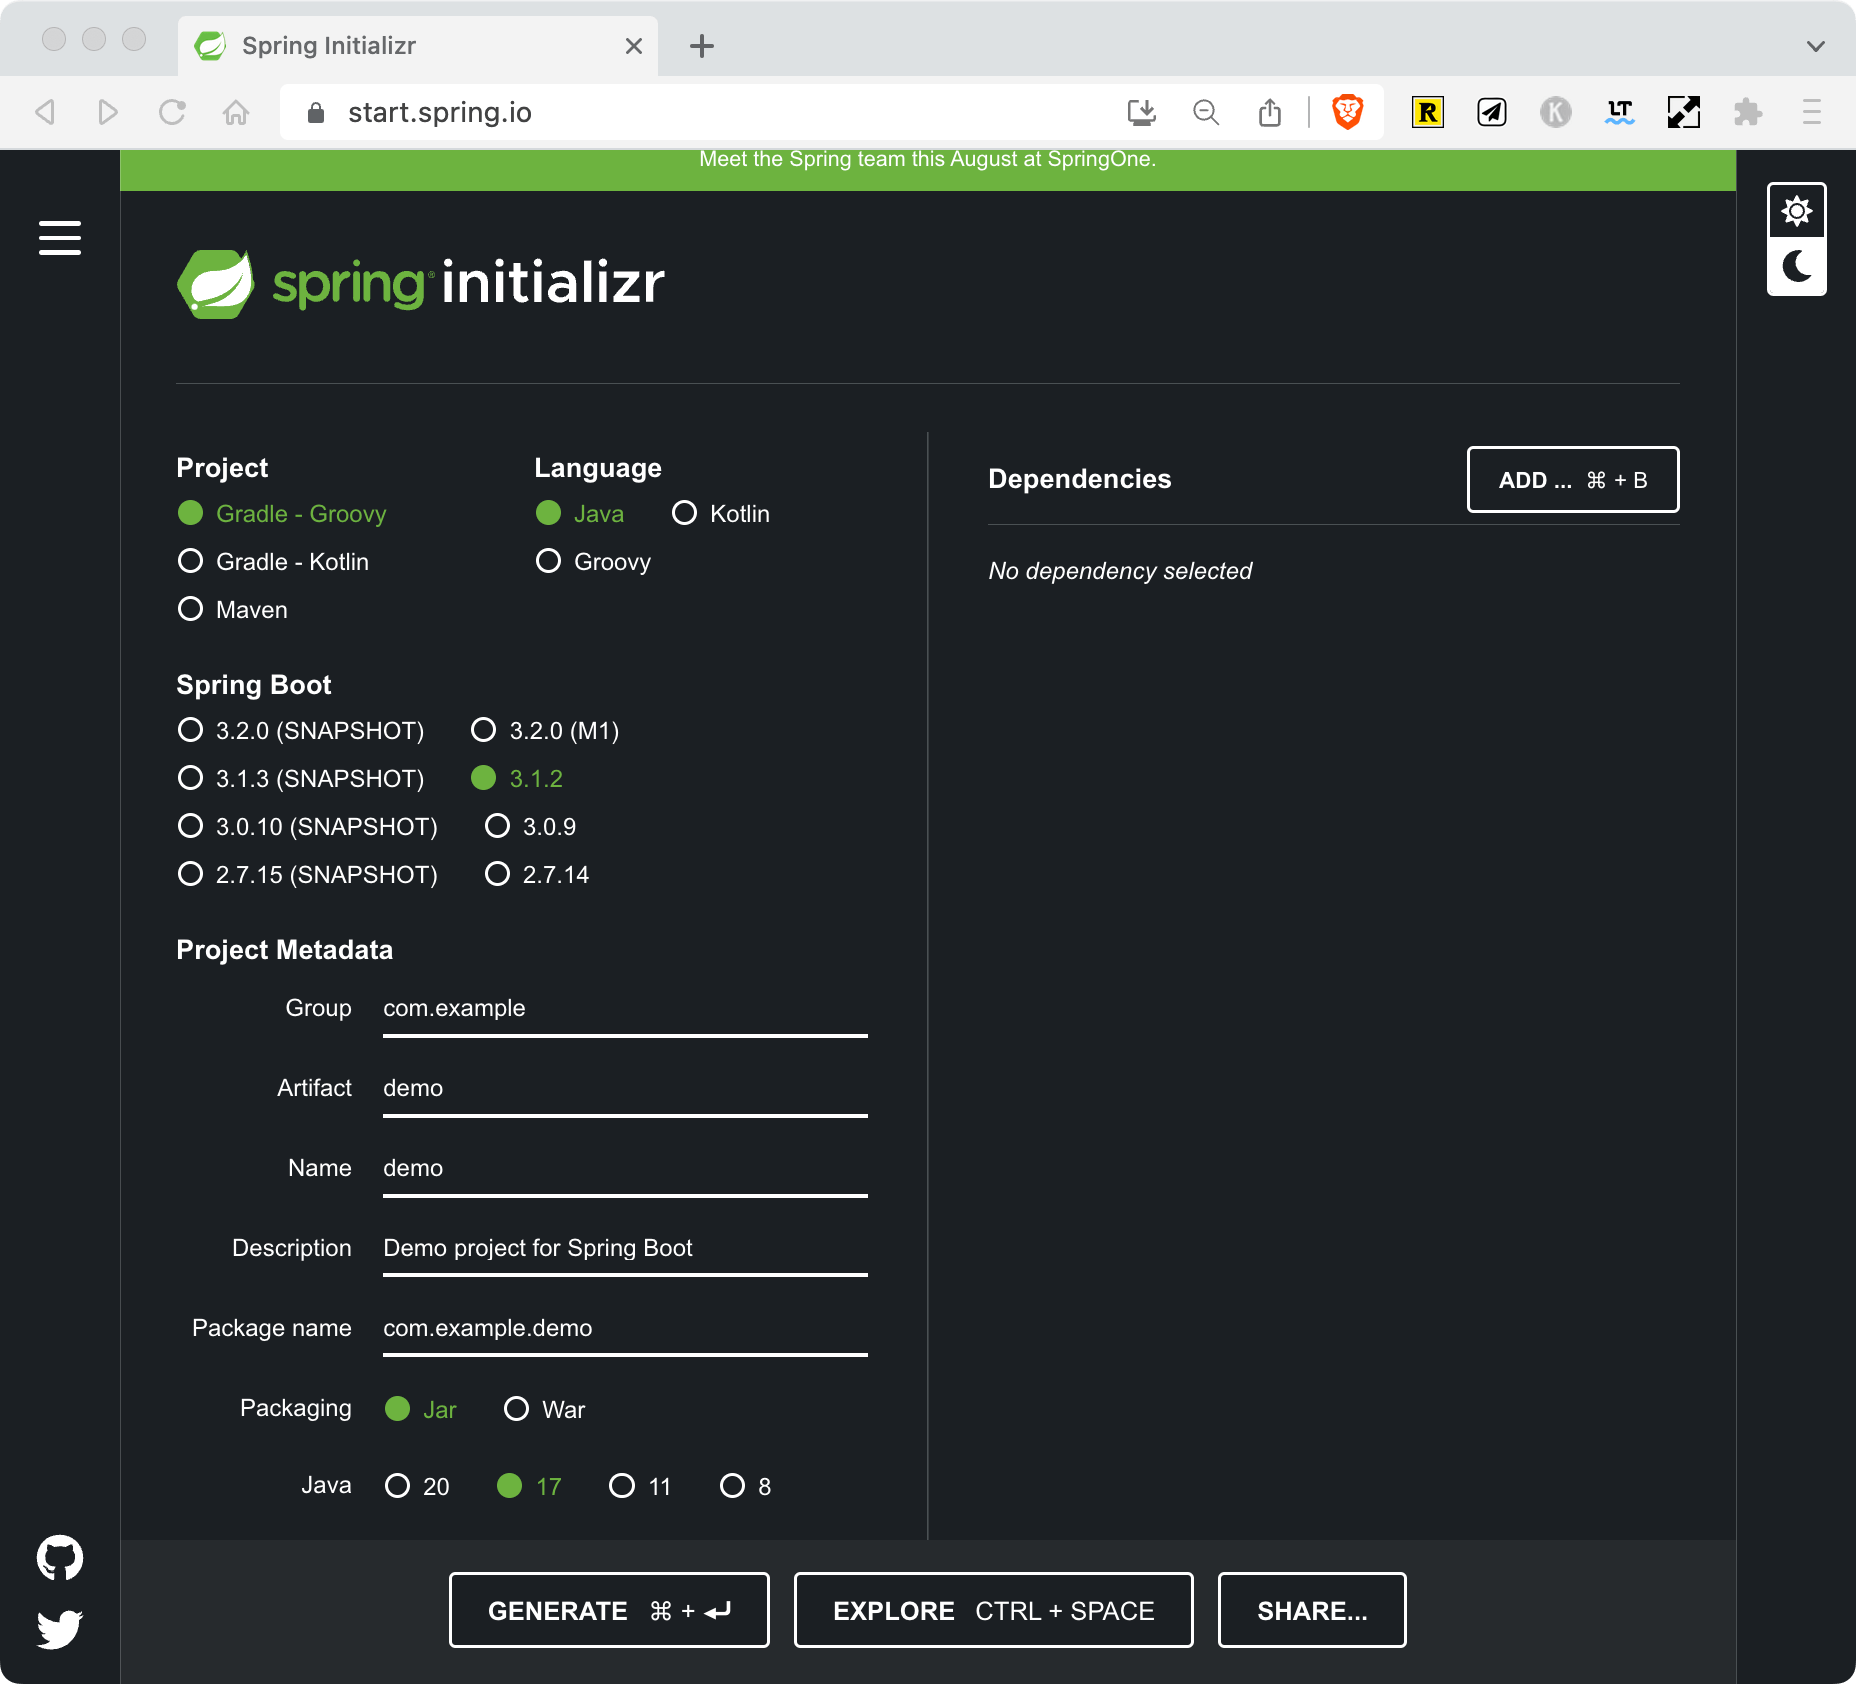
To follow this tutorial, you have to go on spring initializr and generate a basic spring boot app for this demo.

Once you have downloaded it, extract it and open the folder which contains a pom.xml in its root, inside your IDE.
Foremost, for your application to start without failure you have to declare a database configuration, I suggest you to use H2 In Memory DB for your local environment, so in your pom.xml add this dependency.
<dependency>
	<groupId>com.h2database</groupId>
	<artifactId>h2</artifactId>
	<scope>runtime</scope>
</dependency>
Once you configured your pom.xml file, add those lines in your application.properties file
spring.datasource.url=jdbc:h2:mem:testdb
spring.datasource.driverClassName=org.h2.Driver
spring.datasource.username=sa
spring.datasource.password=password
spring.jpa.database-platform=org.hibernate.dialect.H2Dialect
To test that your application works, once you will run it inside your container, add this REST Method, in your Application class. (It’s not the best way to operate, but this tutorial is focused on Docker, not Java)
@SpringBootApplication
@RestController
public class DemoApplication {

	@GetMapping("/demo")
	public String getResponse() {
		return "Hello the app is working...";
	}

	public static void main(String[] args) {
		SpringApplication.run(DemoApplication.class, args);
	}

}
If you use maven, run the following command to generate the .jar file
./mvnw packageDockerize your app using a Dockerfile
Now, we have our application ready to be containerized, let’s define our Dockerfile in the root folder of our project
FROM openjdk:19-alpine

ARG JAR_FILE=target/*.jar

COPY ${JAR_FILE} app.jar

ENTRYPOINT ["java","-jar","/app.jar"]
This Dockerfile can be enough to containerize your application, but running the application with user privileges helps to mitigate some risks. Then you can improve your Dockerfile by running your application as a non-root user.
FROM openjdk:19-alpine

RUN addgroup -S spring && adduser -S spring -G spring

USER spring:spring

ARG JAR_FILE=target/*.jar

COPY ${JAR_FILE} app.jar

ENTRYPOINT ["java","-jar","/app.jar"]
Let’s build an image of your app, run this command in the root folder of your app.
docker build -t demo-spring-app .
Let’s run your app in the container
docker run -p 8080:8080 -d demo-spring-app:latest
The option -p in the command is used to bind the port on your local machine and the port in the container. The option -d is used to run the container in detach mode, which means in the background.
Now your container is running, you can go to your browser and open this URL: localhost:8080/demo and see what’s happened :)
Dockerize your app using Docker Compose
If you don’t want to pass the port option in the command line or if you want to run your container as a service, you can create a Docker compose file
version: '3.8'
services:
  spring-app:
    build: .
    container_name: 'demo-spring-app'
    restart: always
    ports:
      - '8080:8080'
build command is use to specify the location of the Dockerfile that Docker compose will use to build the image of the applicationTo build your application and run in a container (in the background) using Docker compose, use this command.
docker-compose up -d
Now again, go into your browser and run → localhost:8080/demo, and you will see the message below.
$ Hello the app is working...Chances are, you’re also interested in testing, I wrote recently an article about how to write integration tests on spring boot app with Testcontainers.
In summary
In this article, you have seen how to containerize your next spring boot app with 2 methods:
- using a Dockerfile
- using a Docker compose file
Personally, I prefer Docker compose because when I want to launch many services which depend on each others, it’s really convenient to declare all the services in one Docker compose file.
You can also found all the source code of this article on my GitHub.

🔍. Similar posts
How to Delete All Content in a File Using Vim
28 Sep 2025
How to Generate a Git SSH Key on Your Mac and Add it to GitHub
31 Aug 2025
Why Are My React Components Re-rendering Too Much?
26 Jul 2025