This is your guide to Spring Boot and Apache ActiveMQ — JMS Messaging. This tutorial will show you how to set up and use JMS Messaging with Spring Boot, focusing on the use of Apache ActiveMQ.
Whether you're new to the world of Spring Boot and JMS Messaging or want to solidify your understanding, this guide is your one-stop resource.
I'll talk about Message Broker, how to use ActiveMQ with Spring Boot, how to set up ActiveMQ with Docker, and even how to exchange messages through your Spring boot app and JMS.
Let's talk about these topics and learn how to use asynchronous messaging!
What is a Message Broker
A message broker is a piece of software that facilitates the communication between applications, systems, and services and facilitates the exchange of information. The message broker converts messages between formal messaging protocols.
This lets services that depend on each other talk to each other easily, even if they are written in different languages or run on different computers.
Message brokers can check, save, route, and send messages to the right destination. Brokers let applications send messages to other programs without knowing where they are, whether they are online (or not), or how many of them there are. This makes it easier to separate tasks and services in systems.

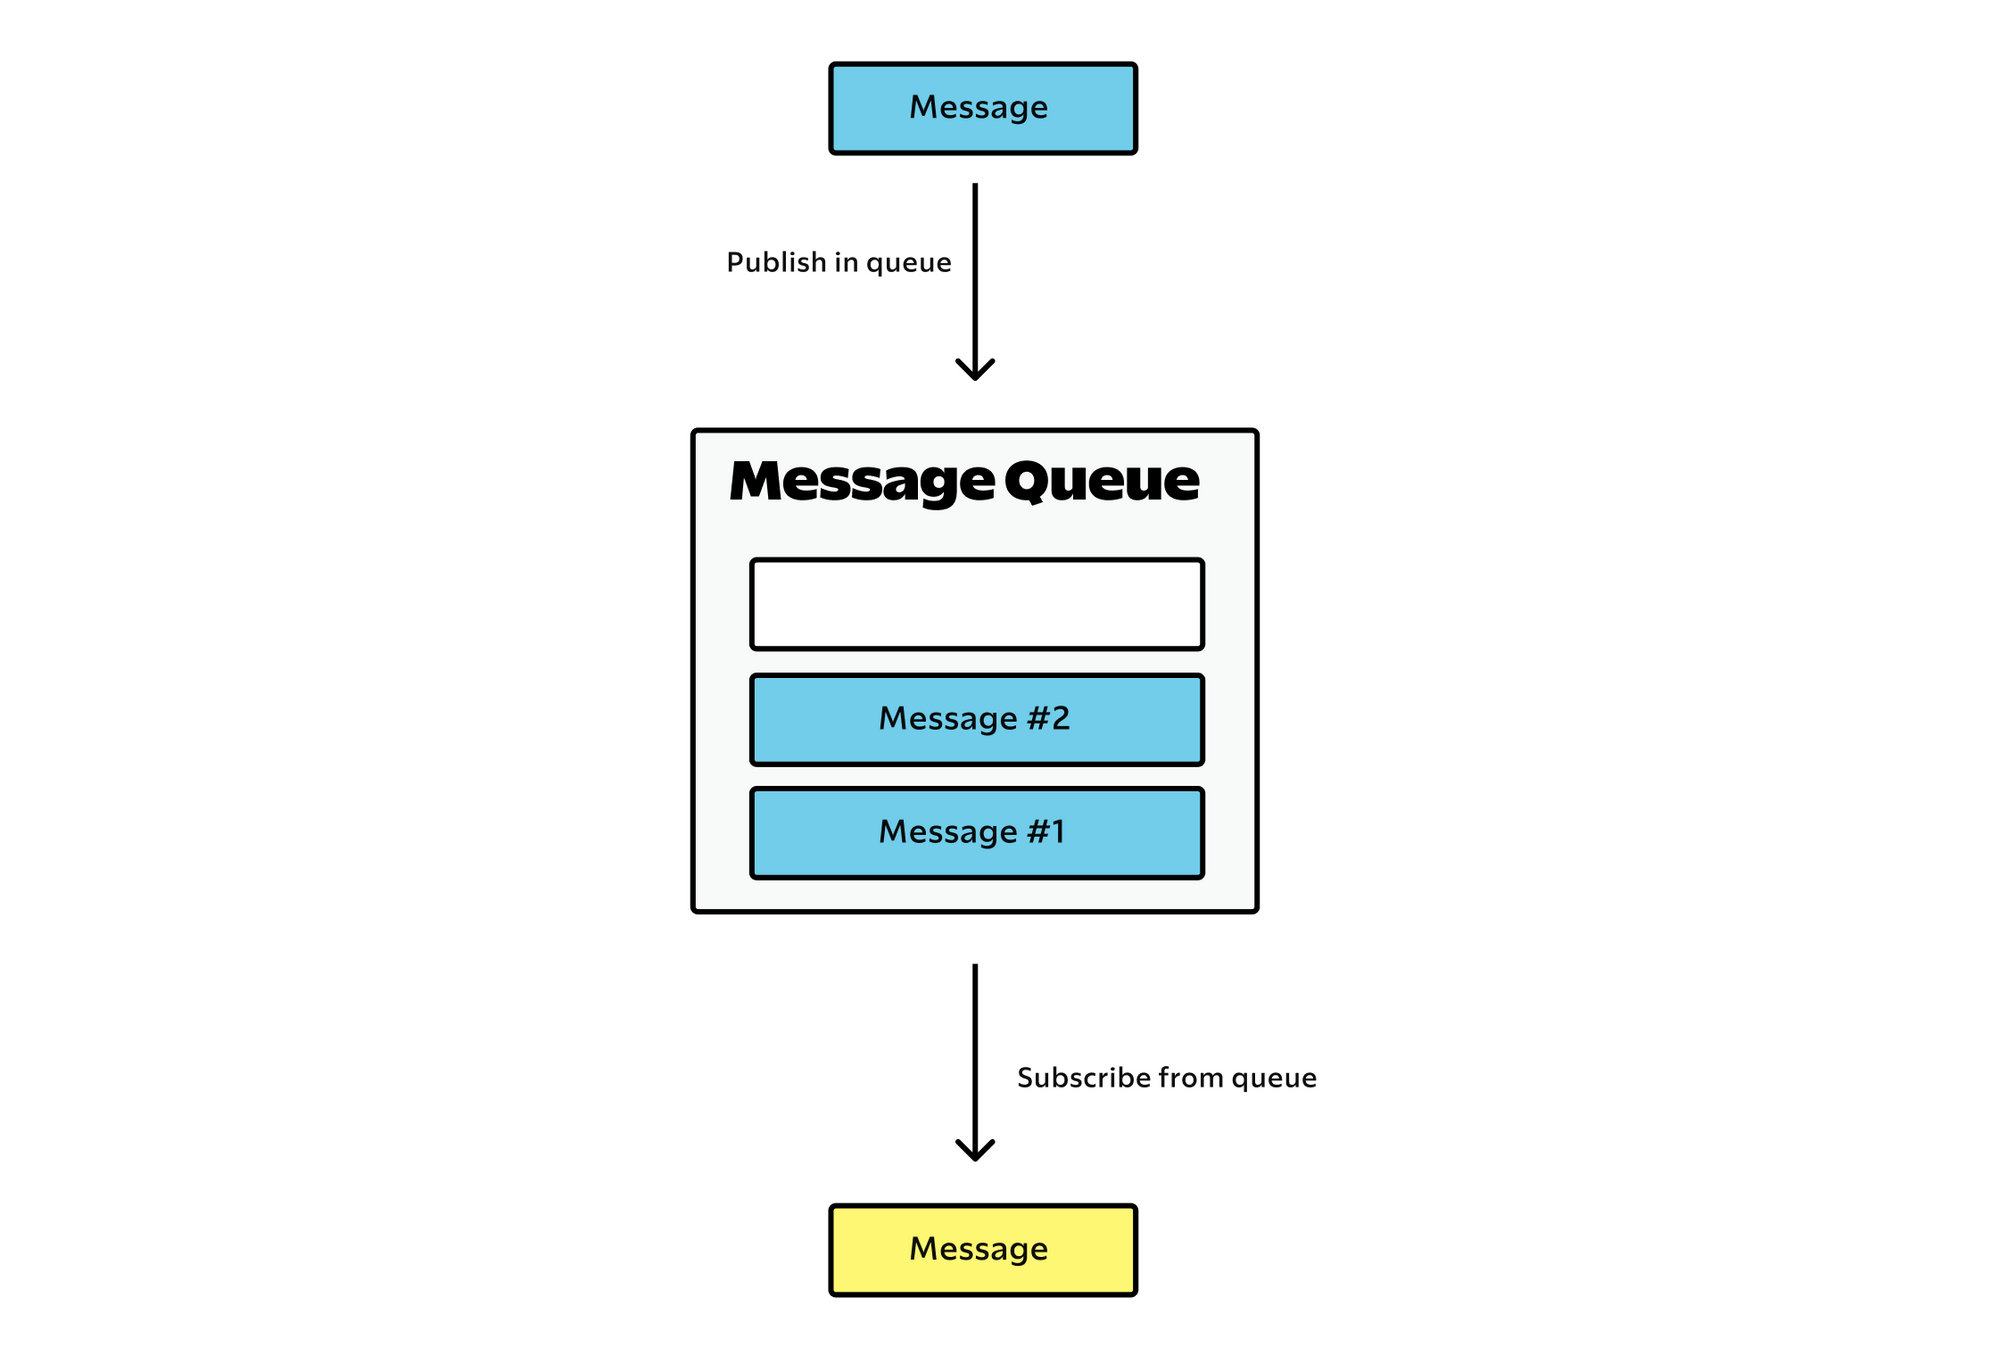
To keep messages safe and send them when needed, message brokers use a special part called a message queue. It stores and arranges messages until the programs that use them can process (consume) them.
In a message queue, messages are stored in the same order they were sent and stay in the queue until they are received.
Asynchronous messaging is a way for message brokers to communicate between different applications. It prevents the loss of valuable data and enables systems to continue functioning even in the face of the intermittent connectivity or latency issues common on public networks.
Using ActiveMQ with Spring Boot
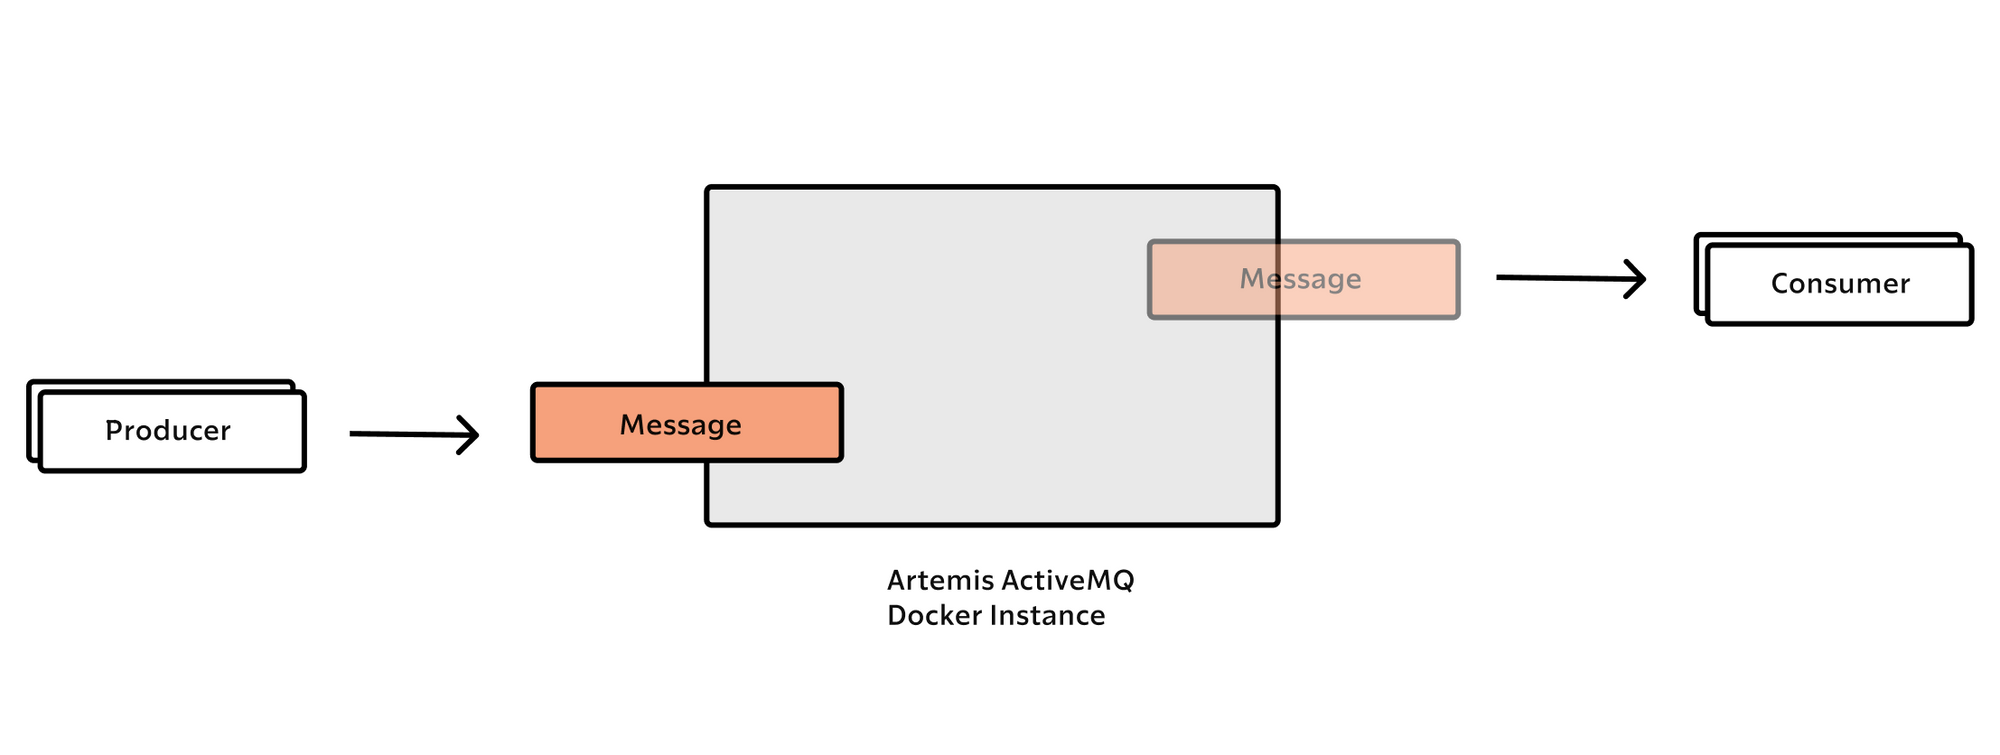
Spring Boot, a popular framework for building Java-based microservices, provides excellent support for integrating with message brokers. This tutorial covers how to enable communication between 2 applications via Artemis ActiveMQ.
Dependencies
In your pom.xml, add these dependencies.
<dependency>
	<groupId>org.springframework.boot</groupId>
	<artifactId>spring-boot-starter-activemq</artifactId>
</dependency>
Producer App
First thing first, you need to configure the application.yml of your spring boot producer app.
# PRODUCER SERVER PORT
server:
  port: 8081

# ARTEMIS ACTIVEMQ CONFIGURATION
spring:
  activemq:
    broker-url: tcp://localhost:61616
    user: admin
    password: adminpass
    packages:
      trust-all: true
  artemis:
    embedded:
      queues: messages
Now create a producer spring boot app, using the spring initialzr. Once you have opened your spring boot project, create a configuration class.
import org.springframework.context.annotation.Bean;
import org.springframework.context.annotation.Configuration;
import org.springframework.jms.annotation.EnableJms;
import org.springframework.jms.config.DefaultJmsListenerContainerFactory;

import javax.jms.ConnectionFactory;

@EnableJms
@Configuration
public class JmsConfig {

    @Bean
    public DefaultJmsListenerContainerFactory jmsListenerContainerFactory(ConnectionFactory connectionFactory) {
        var jmsListenerFactory = new DefaultJmsListenerContainerFactory();
        jmsListenerFactory.setConnectionFactory(connectionFactory);
        jmsListenerFactory.setConcurrency("2-4");
        return jmsListenerFactory;
    }

}
Now create a message Model for the message you want to send in the message broker
import lombok.Getter;
import lombok.Setter;
import lombok.ToString;

@Getter
@Setter
@ToString
public class Message {

    private String name;
    private String email;
    private String website;

}
Next, create a service class, that will handle the message transfer in the queue.
import com.demo.broker.model.Message;
import com.fasterxml.jackson.databind.ObjectMapper;
import lombok.RequiredArgsConstructor;
import org.slf4j.Logger;
import org.slf4j.LoggerFactory;
import org.springframework.beans.factory.annotation.Value;
import org.springframework.jms.core.JmsTemplate;
import org.springframework.stereotype.Service;

@Service
@RequiredArgsConstructor
public class Producer {

    Logger logger = LoggerFactory.getLogger(Producer.class);

    private final ObjectMapper mapper;
    private final JmsTemplate jmsTemplate;

    @Value("${spring.artemis.embedded.queues}")
    private String artemisQueue;

    public void send(Message message) {
        try {
            String jmsMessage = mapper.writeValueAsString(message);
            logger.info("Sending Message :: {}", jmsMessage);
            jmsTemplate.convertAndSend(artemisQueue, jmsMessage);
        } catch (Exception e) {
            throw new RuntimeException(e);
        }
    }
}
The annotation @Value("${spring.artemis.embedded.queues}") bind the value we have set in the config file and associates it to the variable artemisQueue.
Finally create a controller class to send your message in the queue via an API REST request
import com.demo.broker.model.Message;
import com.demo.broker.service.Producer;
import lombok.RequiredArgsConstructor;
import org.springframework.http.HttpStatus;
import org.springframework.http.ResponseEntity;
import org.springframework.web.bind.annotation.PostMapping;
import org.springframework.web.bind.annotation.RequestBody;
import org.springframework.web.bind.annotation.RequestMapping;
import org.springframework.web.bind.annotation.RestController;

@RestController
@RequiredArgsConstructor
@RequestMapping("/message")
public class PublisherController {

    private final Producer producer;

    @PostMapping
    public ResponseEntity<String> publish(@RequestBody Message message) {
        try {
            producer.send(message);
            return new ResponseEntity<>("Message Sent", HttpStatus.OK);
        } catch (Exception exception) {
            return new ResponseEntity<>(exception.getMessage(), HttpStatus.INTERNAL_SERVER_ERROR);
        }
    }

}
Once you have set up all the java code, run this command at the root folder of your spring boot producer app project to start it and let it run in the background.
nohup mvn spring-boot:run &
ActiveMQ with Docker
For this demo tutorial, we will create an ActiveMQ instance using docker.

To do so, we have to create a docker-compose file in this directory active-mq inside the root of my project directory:
version: "3.8"

services:
  artemis:
    container_name: artemis
    image: apache/activemq-artemis:latest-alpine
    ports:
      - "8161:8161"
      - "61616:61616"
    environment:
      ARTEMIS_USER: admin
      ARTEMIS_PASSWORD: adminpass
Then start the ActiveMQ container with the following command.
docker-compose up -d
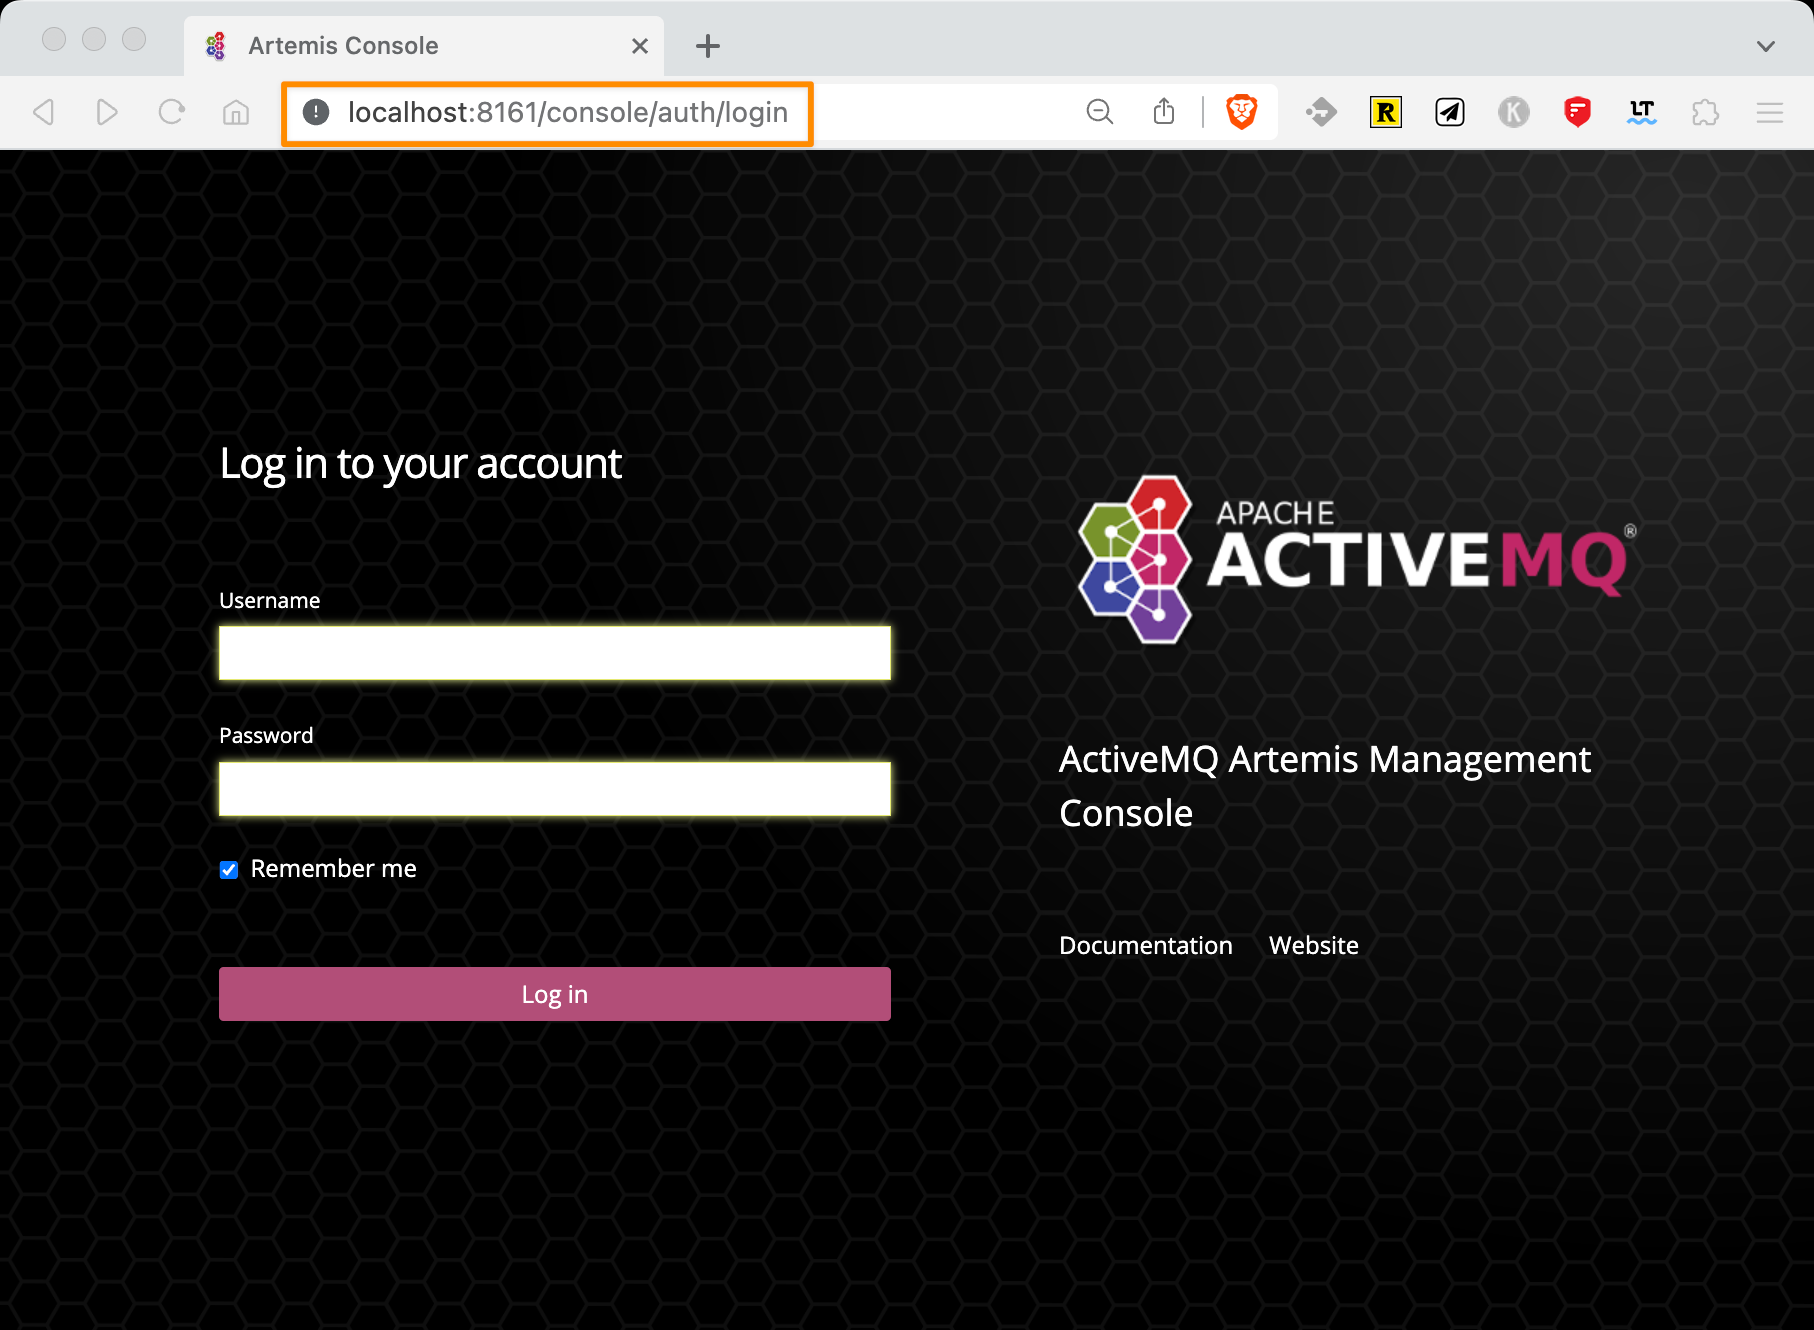
Once the container is up and running, go to this address http://0.0.0.0:8161/console/auth/login
You will see the login page

Enter the login and password configured in your spring application.yaml file, which are the same configured in your docker-compose.yml file: admin and adminpass
Once you are logged in you will see, in the Queues tab, the queue we have already configured in our spring boot configuration apps.

Next, you can send a POST Request to the messages Queue, to test that we receive the message in our queue. To do so, we can perform a request with the CURL command.
curl -X POST <http://localhost:8081/message> -H 'Content-Type: application/json'  -d '{
  "name": "kevin",
  "email": "1kevinson@gmail.com",
  "website": "1kevinson.com"
}'
We can verify in our Artemis interface that we have received the message.

In our interface, we see that we have 1 new message in our messages queue. If you click on that number in the Message Count column. You will now have this preview.

Then click to show to see the content of the message, it will look like something like this.

We have the message waiting in our queue to be consumed by a second application we will call a consumer.
Consumer App
In order to consume the message in our message broker, we will need to create another spring boot app, let’s call it the consumer.
First in your application.yaml config file add the same parameters added in the producer config file.
# CONSUMER SERVER PORT
server:
  port: 8082

# MESSAGE BROKER CONFIG
spring:
  activemq:
    broker-url: tcp://localhost:61616
    user: admin
    password: adminpass
    packages:
      trust-all: true
  artemis:
    embedded:
      queues: messages
Then, you have to create a class called Message Consumer to receive or consume the message in the message broker.
import org.slf4j.Logger;
import org.springframework.jms.annotation.JmsListener;
import org.springframework.stereotype.Component;

import static org.slf4j.LoggerFactory.getLogger;

@Component
public class MessageConsumer {

    Logger LOGGER = getLogger(MessageConsumer.class);

    @JmsListener(destination = "${spring.artemis.embedded.queues}")
    public void messageListener(String message) {
        LOGGER.info("Message received, {}", message);
    }

}
Next, run this command at the root folder of your spring boot consumer app project to start it and let it run in the background.
nohup mvn spring-boot:run &
Once your app started, you will see this log, telling you that the consumer has received the message we have sent in the message broker.

And then if you look back in the broker, you will see that there is no message left since the consumer have received it when he started up.

That's it, our 2 spring boot apps are fully configured to communicate clearly with Artemis ActiveMQ message broker.
Ending
This article serves as a comprehensive guide for using Spring Boot and Apache ActiveMQ for JMS Messaging. The tutorial includes explanations of key concepts such as Message Broker and asynchronous messaging. It details how to set up and use JMS Messaging with Spring Boot using Apache ActiveMQ.
If you want to have the code snippet of this article, you can check it out on my GitHub.

🔍. Similar posts
How to Delete All Content in a File Using Vim
28 Sep 2025
How to Generate a Git SSH Key on Your Mac and Add it to GitHub
31 Aug 2025
Why Are My React Components Re-rendering Too Much?
26 Jul 2025